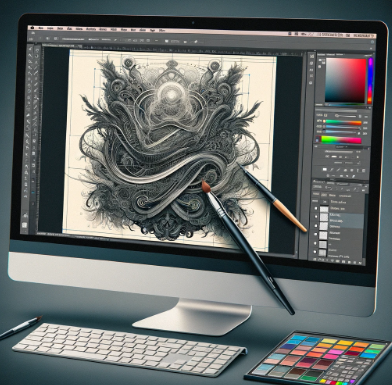
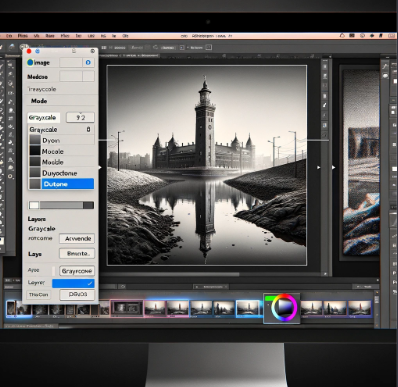
To digitize a drawing in Adobe Photoshop, scan the artwork at high resolution, then use Photoshop's tools to clean, layer, and refine the image, resulting in a digital version that opens new avenues for creativity and sharing. This process transforms traditional art into a versatile digital format, ideal for detailed editing and online display.
What do you think? Submit your opinion to see what others have to say!
If you've seen the TikTok trends where artists transform their traditional sketches into stunning digital masterpieces, you might wonder how they do it. The secret often lies in digitizing their drawings, a process that turns a physical sketch into a digital file. This digital transformation is not just about preserving the artwork in a new format; it opens a world of creative possibilities. Whether it's for adding intricate details that go beyond the limits of physical mediums or preparing artwork for online sharing, digitizing drawings is a crucial skill for modern artists.
In this article, we will guide you through the steps of digitizing a drawing in Adobe Photoshop, a powerful tool for artists and designers. We start by explaining how to scan your artwork with the right settings to ensure the best quality. Next, we move on to opening and preparing your image in Photoshop, detailing how to clean up and ready your image for further editing. We then delve into the crucial step of background removal, a technique that isolates your artwork for a more professional finish. Layer management is covered next, teaching you how to organize and edit your image efficiently. We follow this with techniques for outlining and coloring, where your artwork really begins to come to life. Finally, we wrap up with adding final touches and exporting your creation, ensuring your digital artwork is ready for whatever comes next - be it printing, online showcasing, or further digital manipulation.
By following these steps, you'll not only preserve your original artwork in digital form but also enhance and refine it with tools that offer limitless creative possibilities.
When you're ready to digitize your drawing in Photoshop, the journey begins with scanning. For the best results, use a scanner and set it to at least 300 DPI. This setting ensures that the digital copy retains the clarity and details of your original artwork. If you're using a scanner, place your drawing face down on the scanner bed, close the lid, and use the scanner's software to select the resolution. Remember, higher resolution results in a clearer image, but also a larger file size.

With your artwork scanned, it's time to bring it into Photoshop. Open Photoshop and go to File > Open, then navigate to where your scanned image is saved. Once opened, check the image's resolution by going to Image > Image Size. Ensure it's set to 300 DPI for printing purposes. If not, adjust it accordingly. Next, if there are any unwanted marks or spots, use the Spot Healing Brush Tool, found in the Tools panel, to clean them up. This tool is intuitive; just brush over the unwanted spots, and Photoshop will do the rest.

Removing the background is a crucial step to isolate your artwork. Select the Magic Wand Tool from the Tools panel. Click on the background of your image. If the background isn't selected in one go, adjust the 'Tolerance' setting in the options bar at the top of the screen. This setting determines how many similar-colored pixels the tool selects. Once you have the background selected, hit Delete. To refine the edges of your artwork, go to Select > Modify > Feather, and set it to 1 pixel. This will soften the edges slightly for a more natural look.
Browse Templates, Extensions, Plugins & Presets....
Search
Browse Graphics, Mockups, Brushes & More!
Search
Layers are your best friends in Photoshop. They allow you to edit different parts of your image independently. Create a new layer for the background by clicking the 'New Layer' icon at the bottom of the Layers panel. To reorder layers, simply click and drag them in the Layers panel. For instance, drag the background layer below your artwork layer. This organization lets you edit each element without affecting others.
Outlining your artwork can enhance its digital appearance. Select the Brush Tool from the Tools panel, choose a suitable brush size and hardness, and carefully trace over your drawing's lines. If you make a mistake, use the Eraser Tool to correct it. For coloring, first decide on a color scheme. Then, select the Brush Tool again, choose your desired color from the Color Picker, and start filling in your drawing. You can change brush sizes for different areas for more precise coloring.
In this phase, your creativity truly shines. It's time to add details, shadows, highlights, or texture to your artwork. For example, to add shadows, create a new layer, set its blending mode to 'Multiply', select a darker shade of your base color, and gently apply it where shadows are needed. This layering technique allows you to experiment without altering the original artwork.
Once your artwork looks exactly how you envisioned, save your work. Go to File > Save As, and choose either JPEG or PNG format. JPEG is suitable for online sharing due to its smaller file size, while PNG supports transparency, which is ideal if your artwork has no background.