.avif)
Freevisuals
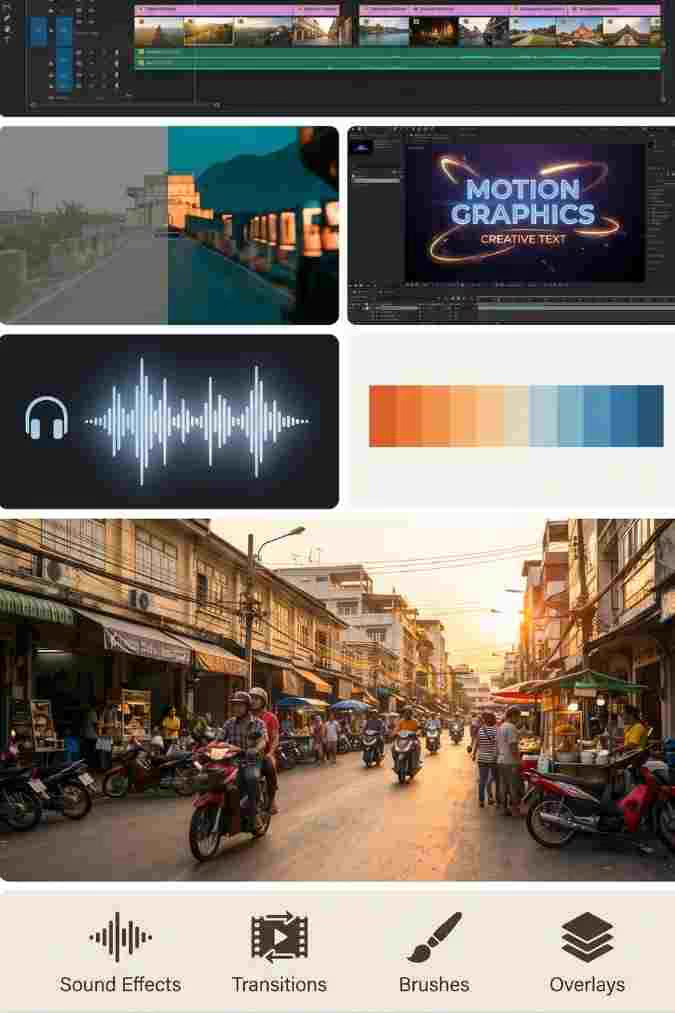
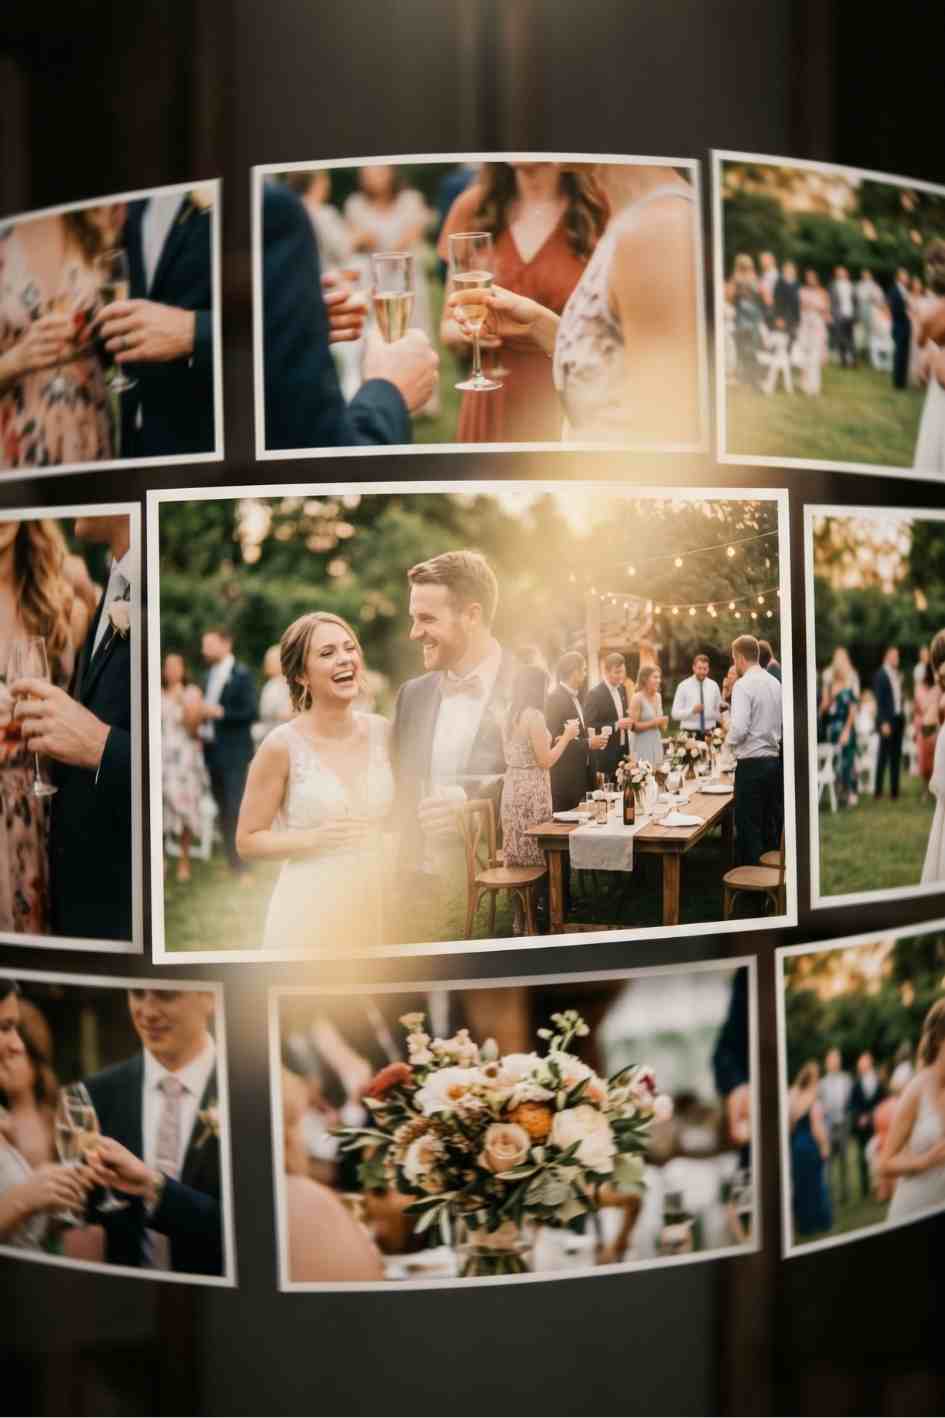
Turn your photos and clips into a visual spectacle with this slideshow template for Adobe Premiere Pro. Featuring smooth transitions, light flares, and
Download FREEGo Pro To DownloadDownload NOW!Turn your photos and clips into a visual spectacle with this slideshow template for Adobe Premiere Pro. Featuring smooth transitions, light flares, and subtle zoom effects, it takes the guesswork out of building a polished slideshow from scratch, drop in your own footage and photos, and the template handles the pacing, movement, and visual polish for you.
A good slideshow template does more than string photos together. It's a genuinely common need, weddings, corporate events, travel recaps, birthday tributes, product showcases, and personal memory videos all rely on the same basic format, but the difference between a slideshow that feels professional and one that feels like a plain PowerPoint export usually comes down to transition quality, timing, and a bit of visual texture like light flares or a subtle zoom. This template covers all three.
If you want music to pair with your finished slideshow, Artlist and Epidemic Sound both carry large royalty free libraries well suited to slideshow content, from emotional acoustic tracks for weddings to upbeat corporate tracks for events. For more free Premiere Pro assets to round out your project, browse our full Premiere Pro templates library.
The Premiere Pro Slideshow Template is a versatile tool designed to transform your photos and video clips into engaging visual presentations. It's built to work with both still images and video clips, so you're not limited to a photo-only slideshow, you can mix in short video clips alongside your photos within the same sequence.
Three core visual elements make up the template's look:
The template is also built with user-friendly customization in mind, meaning you don't need advanced Premiere Pro knowledge to swap in your own content and adjust the design to fit your specific project.
Wedding videographers and couples putting together their own tribute video can use this template to turn engagement photos, family pictures, and behind the scenes moments into a polished slideshow, ready to play at the reception or share online afterward.
Companies wrapping up a conference, team event, or product launch can use this template to quickly assemble a recap video from event photography, useful for internal communications, social media recaps, or a closing video played at the event itself.
Travel content creators and casual travelers alike can use this template to turn a trip's worth of photos and clips into a shareable highlight reel, the light flare and zoom effects add a bit of cinematic polish to travel photography specifically.
Birthday tributes, anniversary videos, graduation slideshows, and other personal memory projects are some of the most common use cases for a template like this, since these projects usually need to be turned around quickly without a large production budget.
Real estate agents and small businesses can adapt this template to showcase a property or product through a sequence of photos, using the smooth transitions and subtle zoom to keep viewer attention moving through each image.
Head to the download page and grab the template files.
Unzip the downloaded folder into a dedicated project directory, keeping it organized alongside your own photos and video clips for the project.
Open the template's project file directly in Adobe Premiere Pro, or import it into an existing project depending on how you prefer to work.
Find the placeholder images or clips within the template's sequence. These mark where your own content needs to go, and are typically the easiest way to see the overall structure of the slideshow before you start customizing.
Drag your own photos and video clips into the placeholder slots, replacing the sample media. Since the template supports both stills and video, you can mix formats freely depending on what best tells your story.
Review the duration of each slide and adjust as needed, some photos may need more time on screen depending on how much detail they contain or how important a specific moment is to your overall story.
If your version of the template includes text overlays for captions, names, dates, or locations, update these directly within the Essential Graphics panel or the relevant text layer.
Play through the sequence to confirm the built-in light flares and zoom effects land naturally against your specific photos, some images with busy or high contrast backgrounds may benefit from a slightly reduced flare intensity.
Drop your chosen music track underneath the video sequence, then adjust slide timing if needed so key transitions or emotional beats in the slideshow land in sync with the music.
Once you're happy with the final sequence, export using your project's standard delivery settings, ready to share, present, or play at your event.
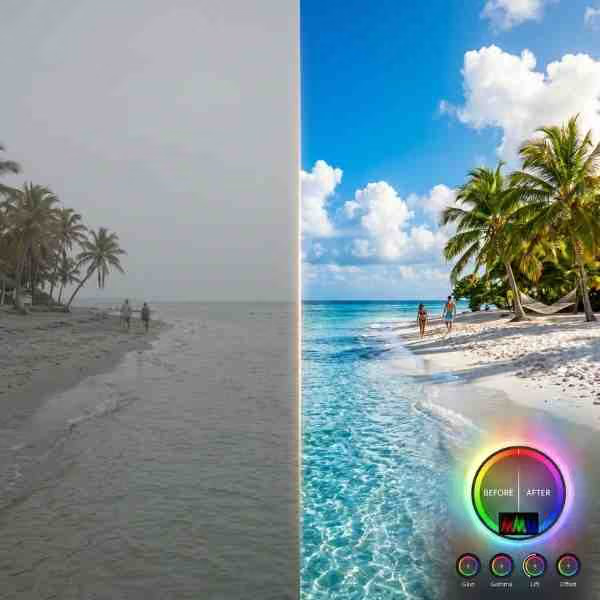
Since the template already handles the transitions, flares, and zoom movement, most of your creative control comes down to photo selection and color consistency. A slideshow with photos shot across many different lighting conditions and color temperatures can feel visually disjointed, even with strong transitions holding it together. Applying a light, consistent color grade across your images before dropping them into the template, even something as simple as a unified warmth or contrast adjustment, can make a noticeable difference in how cohesive the final result feels.
If you want a more specific cinematic look, our free LUT library includes grading options that work well applied to photo sequences, giving your slideshow a more considered visual identity beyond the template's built-in effects.
Smooth transitions, light flares, and subtle zoom might sound like three separate effects bolted together, but they actually solve three different problems that slideshows commonly run into. Transitions solve the pacing problem, without them, a slideshow is just a series of hard cuts between static images, which can feel abrupt no matter how good the photos themselves are. Light flares solve the texture problem, a plain photo sitting on screen can look flat compared to actual video footage, and a subtle flare passing across the frame during a transition adds a bit of cinematic movement that makes the whole sequence feel more produced. Zoom solves the stillness problem, a photo with no movement at all reads as static in a way that can feel jarring next to any video clips mixed into the same sequence.
Individually, none of these effects would fully solve the "slideshow looks like a plain photo dump" problem on their own. A slideshow with only transitions but no movement still feels static between cuts. One with only zoom but hard cuts between images still feels choppy. It's the combination, applied consistently across every slide, that gives a slideshow template like this one its polished, cohesive feel, which is also exactly why building the same effect from scratch for every new project takes considerably longer than starting from a template that already has all three working together.
Using low resolution source photos. Since the template includes a zoom effect, low resolution images can look soft or pixelated once scaled up. Use the highest resolution version of each photo you have available.
Overcrowding the slideshow with too many images. A slideshow with 100 photos each shown for two seconds can feel exhausting to watch. Curating a smaller, stronger selection of images usually makes for a more engaging final video than including everything you have.
Ignoring audio levels when adding music. If your slideshow includes any video clips with their own audio, make sure your music track doesn't clash or compete with dialogue or ambient sound in those clips.
Skipping a final preview before exporting. Always watch through the complete sequence at full resolution before exporting, transition timing and zoom effects that look fine in a quick scrub can read differently at full playback speed.
Forgetting to check aspect ratio for your delivery platform. If you're delivering this slideshow for Instagram Stories or a vertical format rather than standard widescreen, confirm the template's layout adapts well, or plan to reframe your sequence for the correct aspect ratio.
Yes, it's available as a free download directly from FreeVisuals.
Yes, the template is built to support both formats within the same sequence, so you can mix stills and short video clips freely.
No additional plugins are required, the template works with the tools already built into Adobe Premiere Pro.
Check the specific license terms on the download page to confirm coverage for your intended commercial use case before using it in paid client work.
There's no strict limit, though keeping your final selection curated rather than including every photo you have tends to produce a more watchable result. Aim for quality and pacing over sheer volume.
Depending on how the template's effects are structured, you may be able to adjust color and intensity through Premiere Pro's Effect Controls panel. Check the specific layer structure once you've opened the project file.
Affiliate Disclosure: This post may contain affiliate links. If you make a purchase through one of these links, FreeVisuals may earn a commission at no extra cost to you. We only recommend products and platforms we genuinely believe in. Read our full disclosure policy.
Download free video templates, LUTs, and presets for Premiere Pro, After Effects, DaVinci Resolve, CapCut, and Final Cut Pro.

%20Profile%20Pic.jpg)