.avif)
Freevisuals
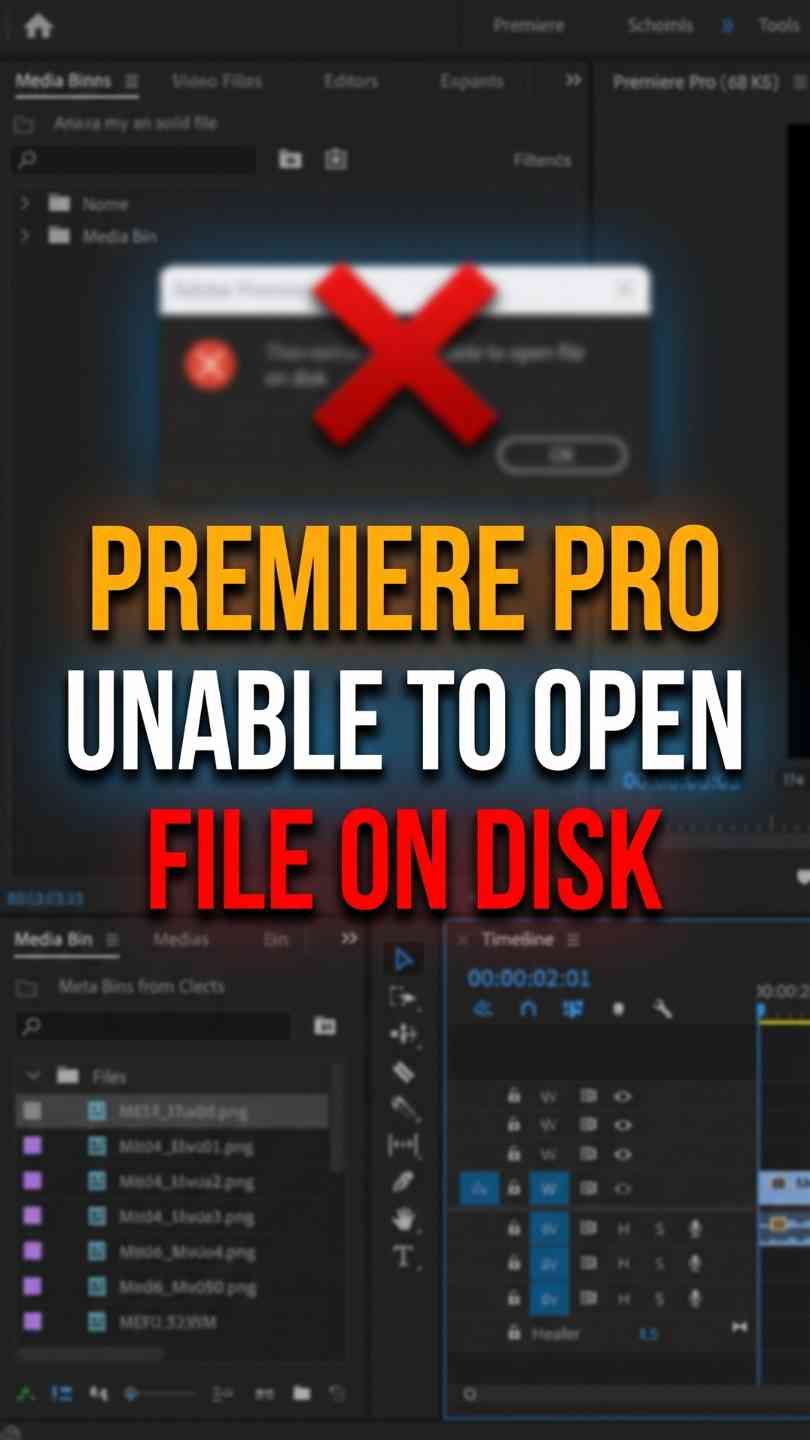
Even for the seasoned editor, certain roadblocks, like the notorious "unable to open file on disk" error, can bring your workflow to a sudden halt. Understanding these challenges is the first step to overcoming them.
In This Article:
Locate the File Source: Begin by identifying the source of the file you're trying to import. If it's from an online source or a memory card, you might want to consider re-downloading it. Sometimes, during the download or transfer process, files can get corrupted, which makes them unreadable by software like Premiere Pro.
Re-download and Import: Once you've re-downloaded the file, open Premiere Pro. Navigate to the "File" menu at the top left, select "Import", and choose your file. If the file imports successfully, you've resolved the issue. If not, no worries, let's move on to the next step.
Check for Media Feature Pack: If you're using Windows 10 Home, it might be missing the "Media Feature Pack". This pack is essential for certain media functionalities.
Downloading the Pack: To get this, visit the official Microsoft website. Use their search bar to find the "Media Feature Pack" and download the appropriate version for your system.
Installation: Once downloaded, open the installer and follow the on-screen instructions. After installation, restart your computer and try importing the file into Premiere Pro again.
Identify Disk Issues: Sometimes, the storage disk where your file resides might have issues. For Mac users, there's a built-in tool to check and repair such problems.
Using Disk Utility: Open "Disk Utility" (you can find it using Spotlight with Command + Space and then typing "Disk Utility"). Once open, select your hard drive from the left panel and click on "First Aid". This tool will analyze and potentially repair any issues with your drive.
File Specifications: If the problem persists, consider checking the file's specifications. A tool called "MediaInfo" can provide detailed information about your media file. Download it, drag your file into the application, and review the details. Look for attributes like codec, pixel dimensions, and frame rate. If you see any anomalies, that might be the root of the problem.
Unzipping Files: Believe me, this is a common oversight. If your file is in a .zip format, it needs to be extracted first. Locate the .zip file, right-click (or control-click for Mac users), and choose "Extract" or "Unzip".
Storing and Restarting: Once unzipped, move the files to a local folder. Close Premiere Pro, restart your computer, and then try importing the file again.
Using VLC Media Converter: VLC isn't just a media player; it has a built-in converter that can potentially fix corrupted MP3s. Open VLC, navigate to "Media" at the top left, and select "Convert/Save". Add your corrupted MP3, choose "Convert", and select MP3 as the output format. Save the file and try importing this new version into Premiere Pro.


.avif)
.avif)
.avif)
.avif)


