.avif)
Freevisuals
Download the free Triple Ink Bleed Transition Overlay. Three organic ink bleed animations on a white background, ready to use as transitions in Premiere
Download FREEDownload NOW!The Triple Ink Bleed Transition Overlay is a free video asset containing three separate ink bleed animations, each captured on a clean white background. Each animation shows a dark ink mass spreading outward from a central point in an organic, irregular pattern that references real ink being absorbed into paper or fabric. The spreading motion is natural and imperfect in the way that only real physical material can be, with irregular edges, subtle variation in density across the ink mass, and a rhythm to the spread that makes it feel tactile and alive rather than digitally generated.
Because each animation starts as a small ink cluster and expands to cover most of the frame, they are primarily used as transition overlays in video editing. The white background becomes transparent via blend modes, leaving only the dark ink visible, which can then be used to mask and reveal footage underneath in a way that looks like ink spreading across the screen to bring in a new scene.
The pack contains three separate animations rather than one, which gives you visual variety across multiple uses in the same project without the audience seeing the same motion repeated. Each bleed has a slightly different character: one spreads more quickly and uniformly, another has more jagged irregular edges, and the third expands with a slightly more deliberate, textured quality. Using all three across a video gives a consistent ink aesthetic while avoiding the repetition that a single animation would create.
This is a free asset available for personal and commercial use with no attribution required.
Standard video transitions, cuts, dissolves, wipes, and fades all share one characteristic: they are geometrically clean. A dissolve blends pixels uniformly across the entire frame. A wipe moves in a straight line or a defined shape. Even many motion graphics-style transitions use clean geometric forms like shapes, lines, and grids.
Ink bleed transitions work differently because their shape is organic and unpredictable. The edge of the ink is never a straight line or a clean curve. It is irregular, textured, and slightly different every time. This organic quality is what makes ink bleeds so effective in certain types of content because they introduce a human, physical, analogue quality into digital video that clean geometric transitions cannot replicate.
When an ink bleed transition is used well, it does not just cut between scenes. It communicates something about the nature of the content. It signals creativity, craft, and intentionality. It references the physical world of ink and paper and paint, which carries cultural associations with art, storytelling, craftsmanship, and seriousness of purpose.
This is why ink bleed transitions appear regularly in documentary films, fashion films, music videos, short narrative films, and high-end commercial content for creative and luxury brands. They are not a decorative novelty. They are a tool for communicating tone.
Documentary and personal narrative videoDocumentary content benefits from transitions that feel earned rather than stylistic. An ink bleed transition carries the weight and seriousness of the content without making the edit feel flashy or produced. It works particularly well in documentary films about art, craft, history, culture, and human stories. The organic quality of the ink references the analogue world that documentary filmmaking often seeks to honour.
Music videosInk bleed transitions are used regularly in music videos because they match the visual language of performance and expression. They work across a wide range of music genres but are particularly suited to acoustic and folk music where the organic, textural quality references the physical instruments and the craft of live performance. They also work well in hip-hop and R&B content where the association of ink with writing and lyric is a deliberate visual reference.
Short films and narrative videoIn short films, transitions carry narrative weight. An ink bleed between two scenes communicates a shift in time, place, or emotional state with a visual language that an audience reads instinctively. The spreading of ink across the frame can suggest a memory bleeding in, time moving forward, or a change in the character's emotional world. Directors and editors use organic transitions like this to do storytelling work without dialogue or voiceover.
Brand films and commercial contentPremium brands in fashion, beauty, food, publishing, art, architecture, and similar categories use ink bleed transitions regularly because they signal a level of visual sophistication and intentionality that generic transitions do not. If a brand wants its video content to feel crafted and considered rather than templated, transitions like this are one of the most effective tools available.
Tattoo and body art contentInk bleed transitions are almost too obvious a fit for tattoo artist content, portfolio videos, and studio promotion. The association between ink and tattoo is direct and immediate, and using an ink bleed transition in this context makes the visual language of the edit actively reinforce the subject matter.
Fashion editorials and lookbooksFashion video content frequently uses organic transitions because they suit the editorial quality that fashion brands seek. Ink bleeds in fashion content reference print editorial aesthetics and give the video a magazine-quality feel that a simple cut or dissolve does not provide.
Travel and lifestyle vloggingAt lower opacity or combined with a colour grade, ink bleed transitions can give travel and lifestyle content an artistic, editorial quality that sets it apart from standard vlog editing. Used sparingly across an episode, they mark significant transitions between locations or time periods without feeling heavy-handed.
Social media content and ReelsUsed as a single strong transition at the midpoint of a Reel or TikTok video, an ink bleed creates a visual beat that stops scrolling and signals to the viewer that something interesting is happening. The visual surprise of an ink expanding across the frame in a vertical video is attention-holding in a way that standard transitions are not.
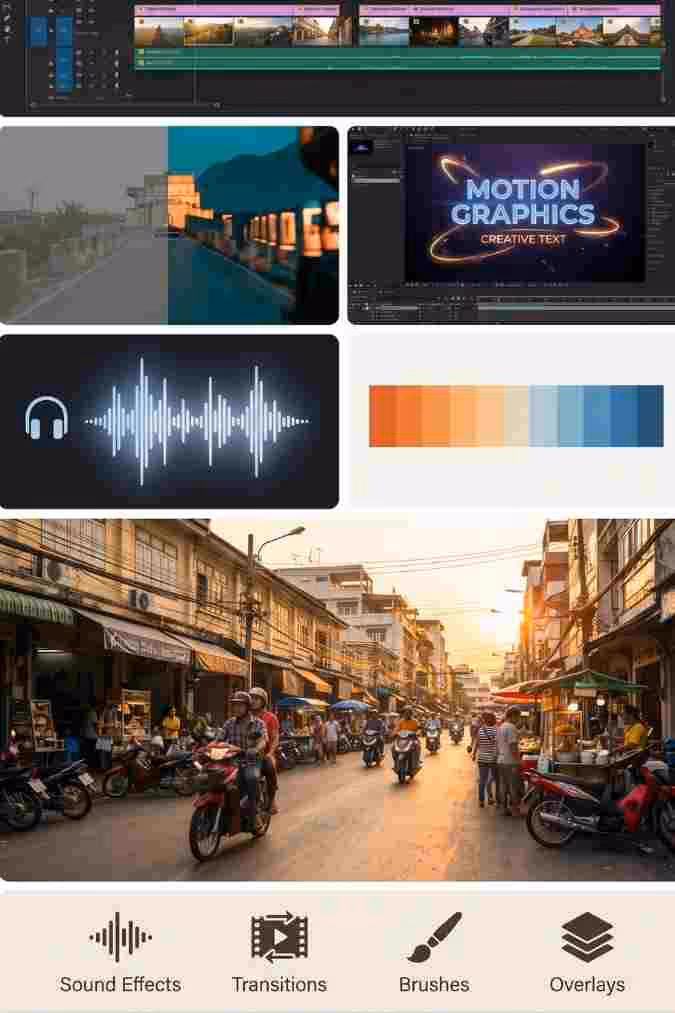
The core technique for using an ink bleed overlay as a transition is the same across all editing software, though the specific menu names differ slightly between applications.
Place the two video clips you want to transition between on separate tracks in your timeline. The clip you are transitioning from should be on the track above the clip you are transitioning to. Overlap the clips at the point where you want the transition to happen.
Place the ink bleed overlay clip above both video layers on its own track, starting at the same point as the beginning of the overlap.
Apply the Multiply blend mode to the ink bleed layer. Because the overlay has a white background and dark ink, the Multiply mode makes the white areas transparent while keeping the dark ink visible. The dark ink now appears over your footage.
Apply a Luma Key or Track Matte effect to the clip you are transitioning to. Set the matte source to the ink bleed layer. As the ink expands across the frame under the Multiply blend mode, it simultaneously reveals the new clip underneath via the matte, creating the transition effect.
Adjust the timing by trimming or speeding up the ink bleed clip to control how fast the transition happens.
Place your clips and the overlay in the timeline as described above. Select the ink bleed layer, go to the Effect Controls panel, and find Opacity. Change the Blend Mode from Normal to Multiply. For the clip you are transitioning to, apply the Track Matte Key effect from the Effects panel. Set the Matte dropdown to the video track containing the ink bleed and set Matte Via to Luma.
For a video tutorial that walks through the ink bleed transition technique in Premiere Pro step by step: How to Create a Custom Ink Transition in Premiere Pro:
In your composition, set the blend mode of the ink bleed layer to Multiply using the Mode dropdown in the timeline. Apply a Luma Matte track matte to the clip you are revealing by enabling the TrkMat column in the timeline and setting it to Luma Matte from the layer above.
Place the ink overlay above your footage. In the Video Inspector, change the Blend Mode to Multiply. Use the Keyer or Luma Keyer effect on the lower clip to key out the lighter areas and reveal the footage as the ink spreads.
In the Cut or Edit page, place the overlay on a track above your footage and set the composite mode to Multiply in the Inspector panel. In Fusion, you can use a LumaKeyer node to extract the matte from the ink overlay and apply it to the reveal clip for more refined control over the transition.
And a free ink bleed overlay tutorial on YouTube:FREE Ink Bleed Overlay Tutorial for Video Editing:
Having three separate animations in the pack opens up creative possibilities beyond simply using one bleed per transition. Here are some specific ways to use the three together effectively.
In a montage sequence or a travel video with multiple location changes, use all three ink bleed animations as consecutive transitions. Each one will feel related to the others but visually distinct, giving the sequence a consistent ink-based visual language without the repetition of using the same animation three times. The audience experiences it as a cohesive aesthetic choice rather than a looped effect.
For a more dramatic and complex visual, stack all three ink bleed layers in the timeline at the same time with a slight offset of around 4 to 8 frames between each. Set each one to Multiply and adjust their opacity so they blend together. The result is a richer, denser ink expansion that has more visual complexity than any single bleed, with the three organic shapes overlapping and creating a more intricate edge pattern.
Use one ink bleed to bring in a scene and a different one to take it out. The visual relationship between the two animations connects the entry and exit of the scene with the same aesthetic vocabulary while using different enough animations that the transition in and the transition out feel like two moments in the same language rather than a repeated element.
Try ramping the speed of each of the three animations differently across a project. One used at normal speed, one slowed to 70 percent for a more deliberate, weighted feel, and one slightly sped up to 130 percent for a sharper, more energetic transition. This gives each use of the ink bleed effect its own pacing character while keeping the visual consistency of the ink aesthetic.
The ink bleed transition is a visual element but it sits within a complete edit that also includes colour grade and music. The three work together to create the final emotional register of the content, and understanding how the ink bleed interacts with the other elements helps you make better decisions about when and how to use it.
With a warm grade like Hollywood Gold or Golden Hour Warm golden grades soften the harshness of a black ink transition. The ink reads as more romantic and painterly against warm amber and golden tones. This combination works well for personal narrative, travel, and lifestyle content where the organic quality of the ink suits the emotional warmth of the grade.
With a cool grade like Arctic Blue or Silver Noir Cool desaturated grades make the ink bleed feel more severe and graphic. The stark contrast between the dark ink and a cool, controlled image gives the transition a more editorial, fashion-forward quality. This combination suits fashion films, contemporary brand content, and music videos with a serious or atmospheric tone.
With a faded film or vintage grade The combination of a faded, analogue colour grade and an ink bleed transition doubles down on the physical, analogue aesthetic. This pairing works very well for documentary content, historical subjects, and personal essay-style videos where the aesthetic signals authenticity and craft.
For music to pair with ink bleed transitions, the organic and slightly unpredictable quality of the effect suits tracks with a similar character. Acoustic and instrumental music, cinematic orchestral pieces, and ambient music with natural textures all work well. Artlist has a strong catalogue of music in these styles, all licensed for use across YouTube, TikTok, Instagram, and commercial projects:
Epidemic Sound also has a well-curated selection of cinematic and atmospheric tracks that pair well with this type of organic transition:
For premium ink bleed transition packs with more animations, different speeds, and higher resolution options, Envato Elements has a strong selection of ink and organic transition packs for Premiere Pro and After Effects:
The Triple Ink Bleed Transition Overlay works in any video editing software that supports blend modes or track mattes. This includes Adobe Premiere Pro, Adobe After Effects, Final Cut Pro, DaVinci Resolve, Vegas Pro, HitFilm, and CapCut Desktop. The overlay is a standard video file with a white background, making it broadly compatible across platforms.
Multiply is the most common and most effective blend mode for white background overlays like this one. Multiply makes white pixels transparent and keeps dark pixels visible, which isolates the ink from the white background automatically. Some editors also use Luminance or Luma Key approaches depending on the software and the specific look they want.
It depends on the app. CapCut on mobile supports blend modes and you can import external video files, so it is possible to use this overlay in CapCut. Other mobile apps like VN and InShot have limited blend mode support. For the best results with this type of overlay, desktop editing software gives you significantly more control.
Yes. Because the ink is isolated via the Multiply blend mode, you can place a colour solid or gradient layer above the ink overlay and use the same Multiply or Overlay blend mode to tint the ink any colour you want. You can also use a Hue/Saturation effect or a colour grade on the ink layer directly to shift the ink from black toward a dark blue, dark red, or dark green without affecting the underlying footage.
Both. While the most common use is as a transition between two clips, the ink bleed can also be used as a standalone atmospheric overlay on a single clip, creating the appearance of ink bleeding across the frame as a visual element in a title sequence, an intro, or a dramatic scene. At reduced opacity the ink creates a subtle textural quality over the footage rather than a transition effect.
Yes. The Triple Ink Bleed Transition Overlay is free to download and use in personal and commercial projects with no attribution required and no usage restrictions.
Mark the beat in your timeline using the M key in Premiere Pro to add markers at the beat hit points. Position the start of the ink bleed clip so it begins one to two frames before the beat hit. The ink will reach its peak spread at or just after the beat, which creates a visual punch that lands with the music. Speed the clip up or slow it down until the expansion timing aligns naturally with the beat. This technique of slightly anticipating the beat rather than starting exactly on it gives the transition a more dynamic, punchy feel.


.jpg)


.avif)
.avif)
.avif)
.avif)