Free Mega LUT Pack 12 Cinematic Teal and Orange LUTs
Free 12 LUT teal and orange pack in standard .cube format for Premiere Pro, DaVinci Resolve, Final Cut Pro, After Effects, and Lightroom. Includes Classic, Skin Safe, Night, Travel, and Blockbuster grades, free for commercial use
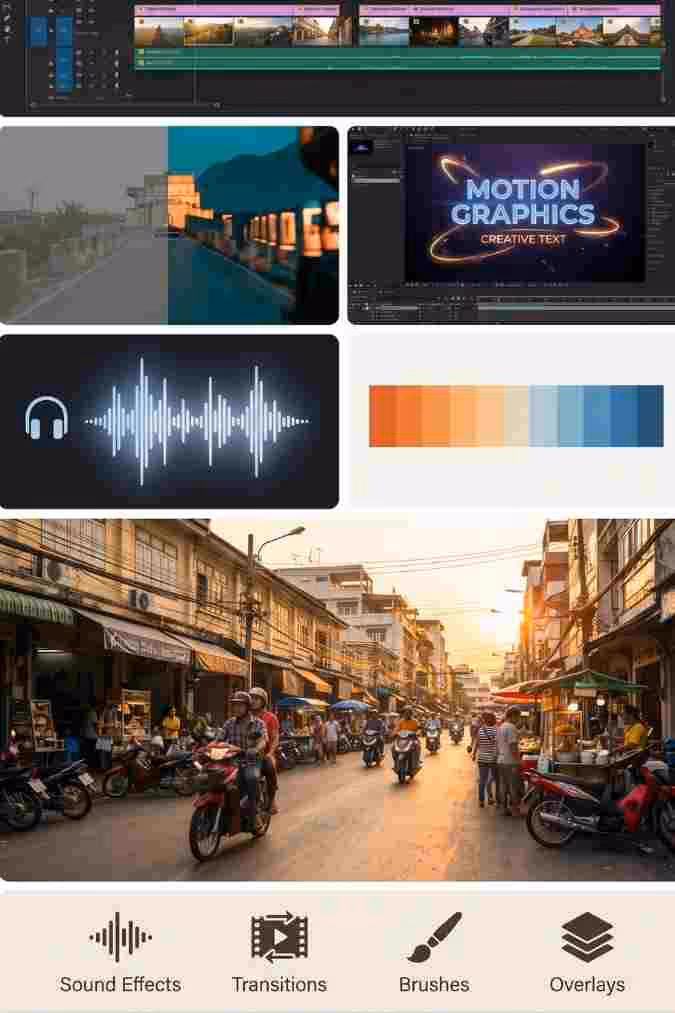
Teal and orange is the most recognisable colour grade in modern film and video, the look behind everything from summer blockbusters to the YouTube thumbnails that consistently outperform flatter, more neutral footage. Warm skin tones and highlights pushed toward orange sit against cool shadows and backgrounds pulled toward teal, giving an image a sense of depth and contrast that a straight, ungraded clip simply does not have.
This pack gives you 12 separate teal and orange LUTs in the standard .cube format, ranging from a light, natural touch to a heavy, full blockbuster push, plus dedicated variants for skin tones, night footage, travel content, and a faded vintage look. Every LUT in the pack works the same way across whichever editor you use.
Want a range of Premium LUTs? Check out Envato's unlimited range
What Is a Teal and Orange Grade, and Why It Works
The teal and orange look relies on a basic principle of colour theory, complementary colours sitting opposite each other on the colour wheel create the strongest visual contrast the eye can perceive. Orange and teal happen to land almost exactly opposite one another, which is why pushing warm tones, skin, sunlight, highlights, toward orange while pulling cool tones, shadows, skies, shade, toward teal creates an image that feels more dimensional and more cinematic than a flat, neutral grade.
This is not a stylistic accident either. Skin tones naturally sit in the orange part of the colour spectrum, so a teal and orange grade tends to make faces pop against a background almost automatically, which is part of why the look has become such a staple in thumbnails, trailers, and any content competing for a click in a crowded feed.
Number of LUTs: 12
File format: .cube, 33x33x33 standard 3D LUT grid
Compatible software: Premiere Pro, DaVinci Resolve, Final Cut Pro, After Effects, Lightroom, Photoshop, CapCut, Filmora
Price: Free for personal and commercial use
Download size: Approximately 2.7MB zipped
What's Inside the Pack
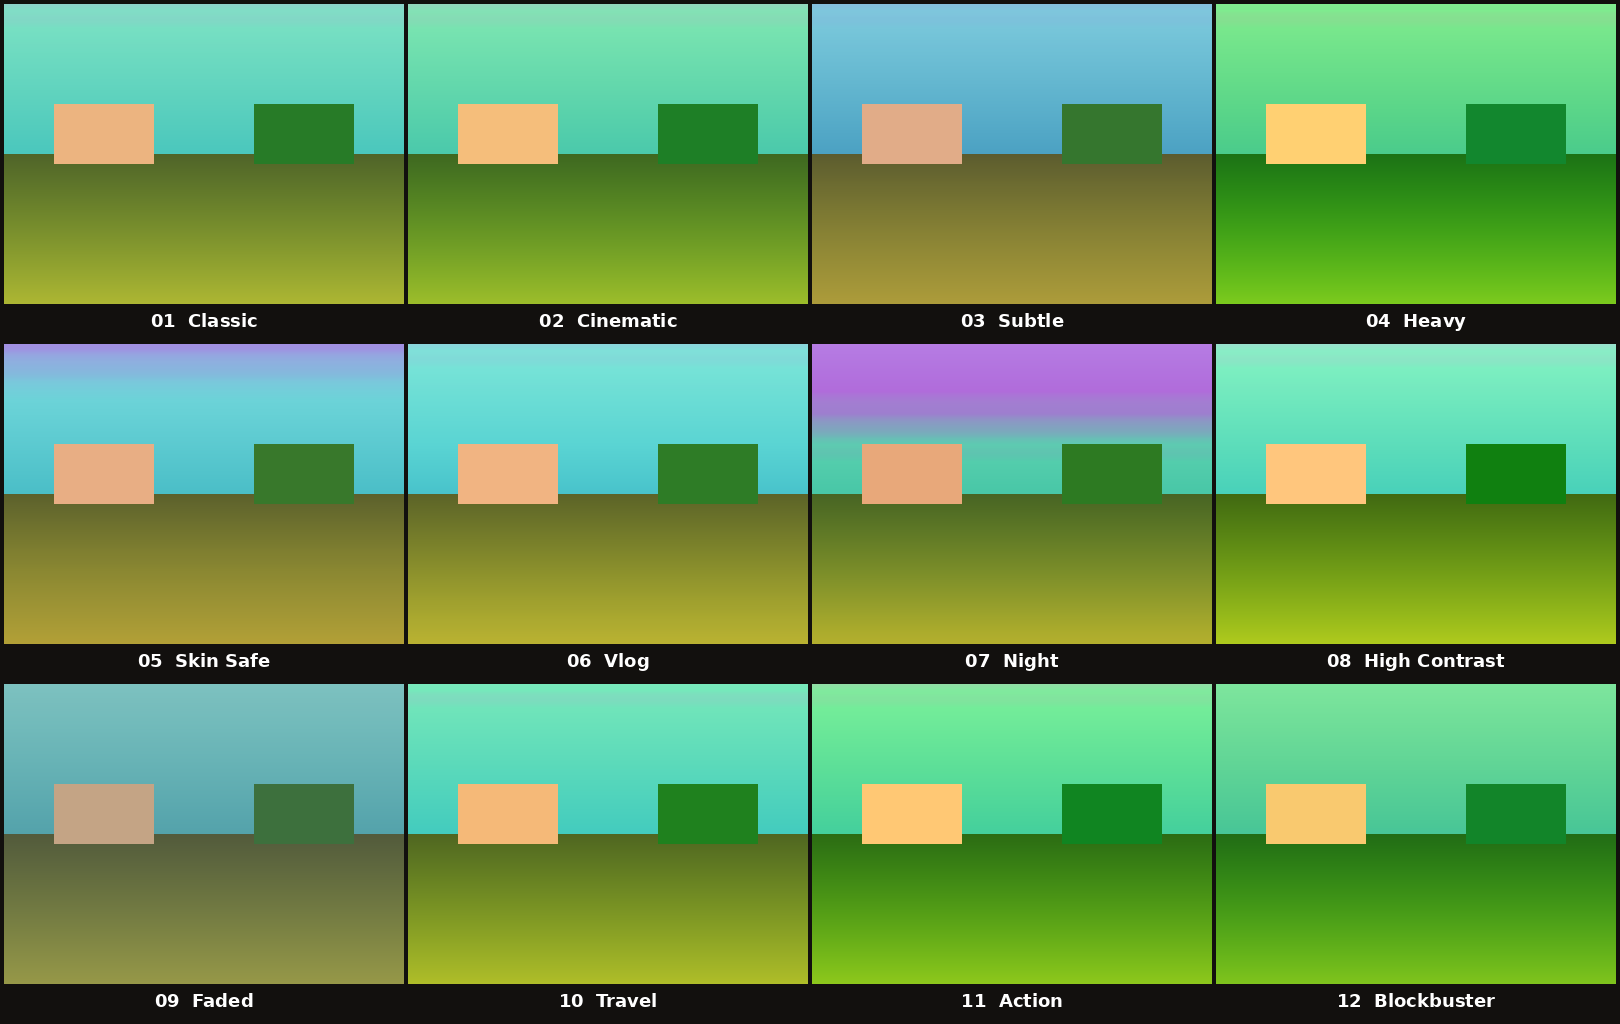
Each of the 12 LUTs applies a different intensity and character of teal and orange, so you are not stuck with a single fixed look across every project. A few are built as general purpose starting points, others are tuned for a specific shooting situation like low light or skin heavy footage, and a couple lean into a more stylised, heavily graded finish for content that wants to stand out. The breakdown below covers what each one actually does to your footage, not just a label.
01 Classic
This is the baseline grade in the pack and the one to reach for first if you are not sure where to start. It lifts the shadows gently, pulls them toward teal at a moderate strength, and pushes midtones and highlights toward orange at a roughly matching strength, so neither half of the split dominates the other. Saturation gets a small lift and contrast is barely touched, which keeps the result usable across almost any footage without fighting the source material.
02 Cinematic
Built on top of the Classic structure but pushed noticeably further in every direction, deeper shadow lift, a stronger teal pull in the shadows, and a firmer orange push through the highlights. Contrast and saturation both step up from Classic as well, giving the image more visual weight and a more deliberate, graded feel rather than a light correction.
03 Subtle
The lightest touch in the entire pack. Shadow and highlight hue shifts are both held well back, contrast is nudged only slightly, and saturation barely moves from the original. This is the LUT to use when you want viewers to feel the teal and orange influence without consciously noticing a colour grade has been applied at all, useful for corporate, documentary, or brand content that needs to stay close to natural.
04 Heavy
The opposite end of the spectrum from Subtle. Shadow lift, hue strength, and saturation are all pushed to their highest settings anywhere in the pack, creating the most separated, most stylised teal and orange split available. Contrast also gets a firm increase. This LUT is built for content that wants the grade to be an obvious, intentional part of the visual identity rather than a background enhancement.
05 Skin Safe
Tuned specifically to protect how faces render while still applying the look. The highlight hue strength is held lower than most of the other LUTs in the pack, and the point where the grade transitions from shadow treatment to highlight treatment is shifted so that midtone skin values fall mostly outside the strongest part of the orange push. The result keeps warm, natural looking skin while the shadows and backgrounds still pick up the teal shift, making this the safest starting point for any footage where a face is on screen for most of the runtime.
06 Vlog
A light, punchy grade designed around everyday talking and walking footage rather than cinema lighting. Shadow and highlight strengths sit in a comfortable middle range, similar to Classic, but saturation gets an extra boost on top, giving colours a bit more life on camera footage shot in mixed daylight without pushing the grade into obviously cinematic territory.
07 Night
Built around low light and after dark footage specifically. The point where the grade shifts from shadow treatment to highlight treatment is moved lower than in any other LUT in the pack, meaning a larger portion of a dim image falls into the teal dominant zone. Shadow lift and saturation are both increased to help recover some shape and colour from dark footage, while the highlight push is kept comparatively restrained so practical lights and streetlights do not blow out toward an unnatural orange.
08 High Contrast
Takes the same balanced shadow and highlight hue strengths as Classic but adds a substantially stronger contrast curve on top, the highest contrast setting outside of Heavy. This deepens shadows and brightens highlights more aggressively, giving the teal and orange split a punchier, more graphic feel without changing the underlying hue strengths.
09 Faded
The only LUT in the pack with both contrast and saturation pulled below the neutral baseline, paired with the strongest shadow lift in the collection. This combination flattens the image slightly and washes out some colour intensity, recreating the muted, lifted black look associated with faded film stock and vintage video transfers, while still keeping a visible teal and orange undertone running through it.
10 Travel
Built around scenery rather than people. Highlight hue strength is pushed higher than Classic to bring out warmth in sunlight and golden hour footage, and overall saturation gets the second largest boost in the pack, just behind Heavy, to make skies, water, and foliage read with more vibrancy in wide landscape and establishing shots.
11 Action
Shadow and highlight hue strengths are both raised to match Heavy levels, but the emphasis here is on energy rather than mood, contrast and saturation are both pushed firmly upward together, giving fast moving footage a punchy, high impact look that reads well even when shrunk down to a small phone screen during quick cuts.
12 Blockbuster
The most cinematic grade in the pack, sitting just below Heavy in overall intensity but built with a different balance, slightly deeper shadow lift, a strong but controlled orange push through the highlights, and contrast and saturation both raised to near the top of their range. This is the LUT that most closely resembles the colour grading style associated with modern feature film trailers and big budget action sequences.
A LUT pack with only one intensity setting forces you to fight the grade with secondary corrections. Twelve variants means you start much closer to the finish line on almost any footage.
How to Install the LUTs in Each Editor
Premiere Pro
Open the Lumetri Color panel, and under the Basic Correction or Creative section, choose the option to browse for an input LUT. Navigate to wherever you saved the downloaded files and select any one of the 12 .cube files to apply it to the active clip or an adjustment layer above your whole sequence.
DaVinci Resolve
Copy the .cube files into your LUT folder, typically found under Documents, Blackmagic Design, DaVinci Resolve, LUT on most systems. Right click inside Resolve's LUT browser panel and choose the option to update or refresh the list, after which all 12 Freevisuals LUTs will appear ready to apply from the Color page.
Final Cut Pro
Place the .cube files into the Library, Application Support, ProApps, Color Profiles, LUTs folder on your Mac, creating that folder path if it does not already exist, then restart Final Cut Pro. The LUTs become available through the Color Board or by applying a custom LUT effect to a clip.
After Effects
Apply the Lumetri Color effect, or the Apply Color LUT effect, to the layer you want to grade, then use the effect's browse option to select one of the 12 .cube files directly from the panel.
Choosing the Right LUT for Your Footage
Talking Head and Interview Content
Start with 05 Skin Safe. It applies the teal and orange look while specifically protecting how skin tones render, which matters enormously for any footage where a face is the main subject for most of the runtime.
Vlogs and Everyday Content
06 Vlog and 01 Classic both sit in a comfortable middle ground, visible enough to add personality to the footage without pushing so hard that the grade starts to look unnatural across a long video.
Cinematic and Narrative Projects
02 Cinematic, 12 Blockbuster, and 04 Heavy give the strongest, most film influenced versions of the look, best suited to short films, trailers, and any project deliberately aiming for a big screen aesthetic rather than a natural documentary feel.
Low Light and Night Footage
07 Night is built specifically around deepening shadow detail with a cooler teal cast, which tends to look more intentional on footage shot after dark than applying one of the brighter, more saturated LUTs from elsewhere in the pack.
Pairing This LUT Pack With Other Freevisuals Assets
Stock Footage for Practicing a Grade
If you want to test these LUTs before committing them to your own footage, Shutterstock and Envato Elements both offer broad stock libraries that work well as a testing ground for trying each of the 12 LUTs against a variety of lighting conditions.
A Broader Colour Grading Library
For projects that need a wider range of looks beyond teal and orange specifically, the Free Mega Cinematic LUT Pack from Freevisuals gives 22 additional free colour grades spanning a much broader stylistic range.
Sound Design to Match a Cinematic Grade
A heavily graded, cinematic look often pairs well with equally intentional sound design rather than raw camera audio. The Freevisuals AI Sound Effect Prompt Library includes free, tested prompts for generating atmospheric and ambient sound effects using ElevenLabs that complement a film style colour grade.
Music to Complete the Look
Artlist and Epidemic Sound both carry strong cinematic and trailer style music catalogues that pair naturally with the more dramatic LUTs in this pack, particularly 12 Blockbuster and 11 Action.
License and Usage
This LUT pack is free for both personal and commercial use, including monetised YouTube content, client projects, and paid work. Redistributing or reselling the LUT files themselves as a standalone product is not permitted, but using them as part of finished video content carries no restriction or attribution requirement.
Frequently Asked Questions
What software works with this pack?
Standard .cube LUTs load into Premiere Pro, DaVinci Resolve, Final Cut Pro, After Effects, Lightroom, and more.
What is the difference between the 12 LUTs?
Each applies a different strength and style, from subtle to heavy, plus skin tone, night, travel, and faded variants.
Is it free for commercial use?
Yes, free for personal and commercial use, including monetised content.
Give your footage a cinematic look
Download All 12 Teal and Orange LUTs Free
Works in Premiere Pro, DaVinci Resolve, Final Cut Pro, and After Effects.
Disclosure: Some links in this post are affiliate links. If you click through and make a purchase, Freevisuals earns a small commission at no extra cost to you. All opinions are entirely our own.
.avif)


.avif)
.avif)
.avif)
.avif)
.avif)


