.avif)
Freevisuals
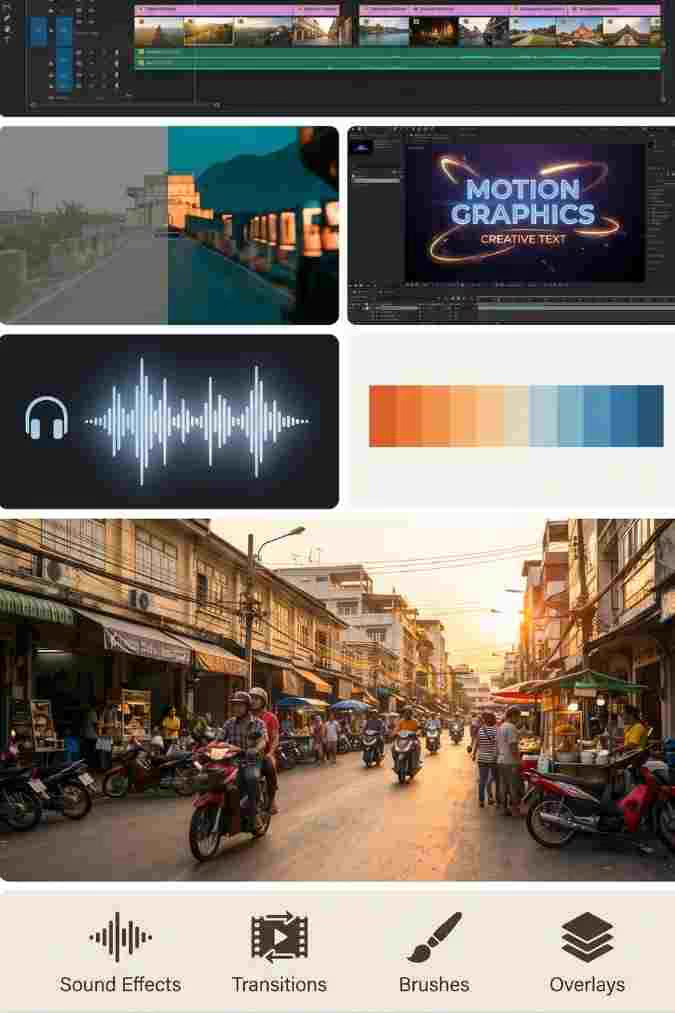

5 high quality free Whoosh transition sound effect MP3 files including standard, soft, heavy, snappy, and digital variants.
Download FREEGo Pro To DownloadDownload NOW!Every editor eventually figures out the same thing: a transition that looks great but has no sound underneath it still feels unfinished. Not because the viewer notices the missing audio consciously, they almost never do. But because the brain processes audio and visual information simultaneously, and when a sharp visual cut lands without any corresponding audio event, something feels slightly off even if the viewer cannot explain why.
The fix is simple and takes seconds to apply. A short whoosh sound effect layered underneath a cut, sometimes as brief as half a second, gives the brain the audio confirmation it is looking for and makes the transition feel intentional, energetic, and professional. Whether you are cutting a YouTube video, a brand reel, a social media clip, or a client project, the same principle applies across every format and content type.
This pack gives you 5 free whoosh transition sound effects in high quality MP3 format, each one built around a different character and intensity so you are not stuck using the same sound on every cut. From a light, barely there flutter to a deep, cinematic bass driven sweep, at least one of these five variants will sit naturally under most transitions you encounter across most content formats.
All 5 files are free to download and cleared for personal and commercial use with no attribution required.
A whoosh sound effect is a short burst of directional audio movement, typically a rapid sweep of air or tone from one frequency range to another, used to punctuate a visual transition, cut, or motion graphic on screen. The name comes from the onomatopoeic description of air moving quickly past a microphone, but in modern video editing whoosh effects have become a much broader category covering everything from soft atmospheric swells to hard digital sweeps and heavy bass driven thumps.
The reason whoosh effects are so widely used comes down to how human perception works. A visual cut on its own is processed and moved past. A cut with a coordinated audio event underneath it engages both auditory and visual processing at the same moment, which makes the transition feel more physical, more immersive, and more deliberate to the viewer. This is the same principle behind why action films use impact sounds on every hit, and why well produced YouTube and social media content almost always has some form of audio layered behind its visual transitions.
Whoosh effects sit somewhere between music and sound design in a finished edit. They are short enough that they do not compete with background music, specific enough that they add genuine character to a cut rather than just noise, and versatile enough to sit comfortably across most content genres and formats.
Each of the 5 whoosh variants has a distinct character and intended use case, so you are not reaching for the same sound on every cut throughout an edit.
The all purpose starting point and the one to reach for first if you are not sure which variant fits the cut. A fast, clean sweep with a moderate frequency range, a subtle low end thump at the point of impact, and a crisp high frequency tail that cuts off cleanly without any reverb drag. This is the general purpose whoosh that sits naturally under most transition types across most content genres without calling attention to itself or conflicting with background music.
The lightest touch in the pack. The sweep is narrower in frequency range, the low end is almost entirely absent, and the overall volume envelope is gentler, rising and falling more gradually than the Standard variant. This is the variant to use when you want a transition to have audio presence without the sound competing with dialogue, voiceover, or a quiet music bed underneath. Particularly useful in corporate video, documentary content, talking head videos, and any content where subtlety matters more than energy.
The most physically present sound in the pack. A deep, bass driven sweep with a pronounced low end rumble at the point of impact, noticeably more weight and duration than the Standard variant, and a longer overall tail before the sound fully resolves. This variant is built for transitions that need to feel like events rather than edits. Impactful cuts between major sections, dramatic reveals, cinematic title cards, and section breaks in longer form content where the audio needs to match the visual weight of what is happening on screen.
The shortest sound in the pack. The sweep is extremely compressed in time, creating a hard, percussive snap rather than a flowing movement from one side of the frequency range to the other. This is the variant for fast paced content where cuts are landing in rapid succession and a longer whoosh would overlap into the next cut before it has resolved. YouTube highlight reels, gaming montages, action sports content, social media Reels, and any sequence built around a high energy music track with a fast tempo will find this variant the most natural fit.
A tech influenced variant that adds a subtle glitch texture and high frequency shimmer on top of the underlying sweep movement. The core whoosh shape is similar to the Standard variant in duration and overall frequency range, but the added electronic character gives it a more modern, intentional feel that sits naturally in gaming content, tech reviews, software tutorials, sci fi themed edits, and any project with a visual identity built around digital or futuristic aesthetics.
Justin Odisho walks through his workflow for placing and syncing whoosh SFX in a real Premiere Pro edit, covering timing, volume adjustment, and using the slip tool to dial in exact placement. One of the most practical, straightforward tutorials available for getting whoosh effects to land correctly on every cut.
Import the MP3 files via File, Import and drag them onto an audio track in your timeline directly beneath the video cut you want to accompany. Position the audio clip so that the loudest point of the sweep, typically the centre of the sound rather than the very start, lands on the exact frame where the visual cut happens. Use the Audio Gain panel to adjust volume, and apply a subtle fade in at the very start of the clip using the clip audio fade handle if the onset feels too abrupt. For projects where the whoosh is competing with a music track, the Essential Sound panel Ducking feature can automatically lower the music volume slightly at the point where the SFX plays so both sit clearly in the mix.
Drag the MP3 files into your Media Pool, then onto an audio track in the timeline. The Fairlight page gives you full control over level, panning, and EQ for each sound effect clip. For the Heavy variant specifically, it is worth opening the Fairlight EQ and checking the low end against your music track at the point of the transition to make sure the bass frequencies are not stacking in a way that makes the mix feel muddy at that moment.
Import the files via File, Import Media and drag them from the browser onto your timeline below the video track they are meant to accompany. Switch to the expanded audio lane view so you can see the waveform of the whoosh clearly and confirm its peak is hitting at the right frame. Use the Audio Inspector to adjust clip volume and apply fades at the clip level rather than the track level so each individual whoosh has its own independent volume setting.
Import the MP3 files as footage via File, Import, File and drag them onto an audio layer in your composition. Use the Audio Levels property under the audio layer to adjust volume and keyframe any fades if needed. Whoosh effects work particularly well in After Effects when timed to motion graphic elements, a title card sliding in from the side, a graphic element sweeping across the frame, or a logo reveal. The Digital variant is the strongest fit for most After Effects motion graphics work given its electronic character.
Import the files into your project audio section and drag them onto the timeline below your video clips. CapCut audio trimming tools let you position the peak of each whoosh precisely on the frame where the transition lands, and the volume envelope controls let you fade the tails in or out cleanly if the transition is a short one and the full tail of the sound would bleed into the following clip.
Watch this tutorial covering the correct workflow for importing and placing sound effects in DaVinci Resolve, including the Fairlight page and how to sync audio to specific cuts. Directly useful for the large portion of your audience editing in Resolve rather than Premiere Pro
The Standard and Snappy variants cover most situations you will encounter in a typical YouTube video. Use Standard for section breaks and chapter transitions where you want the cut to feel deliberate and polished, and Snappy for faster cuts within a section or montage sequence where a longer sound would drag across into the next clip. For talking head content with occasional B-roll cuts, Soft is worth considering since it adds audio presence to transitions without competing with dialogue.
Short form vertical content moves fast and rewards tight audio that does not overstay its welcome. Snappy is the strongest fit for Reels and TikTok since its brief duration sits cleanly between rapid cuts without bleeding across them. Standard works well for the occasional bigger transition that you want to land with more emphasis, such as a reveal or a tonal shift between two sections of a Reel.
Soft is the safest choice for professional brand and corporate content where the audio needs to feel polished and considered rather than energetic. It adds presence to transitions without the assertiveness of Standard or Heavy, which can feel slightly out of place in a measured, professional edit. For product reveal moments or section dividers in a longer brand film, Standard is worth stepping up to since the slight additional weight it adds helps those moments land with more intention.
Digital and Snappy are the strongest fit for gaming content. Digital adds a tech character that reads naturally against gaming visuals and interface elements, while Snappy keeps pace with the fast editing rhythm common in highlight clips, montages, and reaction content. If the gaming content has a cinematic or narrative angle, Heavy is worth considering for major moments, boss reveals, or dramatic title cards in a longer edited video.
Heavy is built for moments that need audio weight. Dramatic title reveals, act breaks, impactful cuts between major scenes, and any transition that is meant to feel like a deliberate cinematic device rather than a functional edit are the natural home for the Heavy variant. Standard is useful for less emphatic transitions within a scene where you still want the cut to feel intentional without the full weight of Heavy behind it.
Standard and Soft sit well under the kind of upbeat, flowing music common in travel and lifestyle content. Neither variant is assertive enough to compete with the music while still adding enough presence to make transitions feel considered. For punchy cuts between locations or activity sequences, Standard is the right call. Soft works best for slower, more atmospheric transitions between quieter moments in the edit.
Getting a whoosh to land correctly is not about placing the start of the audio clip on the cut frame. It is about placing the loudest, most impactful moment of the sound on the cut frame and letting the onset of the whoosh arrive slightly before the cut so the audio leads the visual by a few frames.
This slight lead, sometimes as little as two or three frames before the actual cut point, is what makes a whoosh feel like it is driving the transition rather than just accompanying it. When the audio peak lands exactly on the cut or slightly after it, the effect feels reactive rather than intentional, like the sound is catching up to the visual rather than propelling it.
The practical way to apply this is to place the clip so its start lands a few frames before the cut, then preview and adjust by single frames until the feel is right. Most editors develop an instinct for this quickly and it becomes a fast, natural part of the workflow.
For content with a lot of transitions close together, consider using a mix of variants throughout the edit rather than relying on a single sound. An edit where every cut uses the same whoosh quickly starts to feel repetitive and mechanical. Alternating between Standard and Snappy across a sequence, or reserving Heavy specifically for the two or three biggest moments in an edit, gives the audio texture and variation that keeps transitions feeling intentional throughout.
The Freevisuals Whoosh Transition SFX Pack sits naturally alongside the 12 Cinematic Teal and Orange LUT Pack from the Creator Vault. Both are designed to add a layer of polish to content that already has strong fundamentals, one on the visual side and one on the audio side, without requiring any technical expertise to apply.
Every whoosh in this pack is designed to layer underneath a music track rather than replace it. For a royalty free music track that pairs well with the Standard and Snappy variants specifically, the Vibrant Pulse Modern Dance Music Track is available free in the Creator Vault.
If your transitions involve motion graphic elements rather than plain cuts, the Intro Video Template for Premiere Pro pairs well with the Standard and Digital variants, both of which complement rapid zoom and text animation transitions naturally.
Strong transitions need strong footage on both sides of the cut. The Freevisuals free stock video library and the HD New York Skyline Timelapse available in the Creator Vault both give you high quality footage to cut against without needing a separate stock subscription.
For creators who regularly need sound effects beyond transition whooshes, a handful of platforms carry genuinely comprehensive libraries worth subscribing to for ongoing professional use.
Artlist covers music, SFX, stock footage, and motion graphics templates under a single annual licence that covers commercial use across all platforms. Their SFX library runs to tens of thousands of files across every category a creator might need, from cinematic impacts to interface sounds to ambient backgrounds.
Epidemic Sound is particularly strong for music and sound effects for YouTube and social media content, with a library optimised specifically around the formats and content styles most relevant to independent creators and small production teams. Their sound effects collection includes a large dedicated transition and whoosh category.
Envato Elements gives you access to an enormous library of audio assets alongside video templates, motion graphics, stock footage, and graphic assets under a single monthly or annual subscription, making it a practical choice for creators who need a broad range of asset types rather than just audio specifically.
Motion Array is particularly strong for video templates and Premiere Pro specific assets alongside its audio library, and is worth considering for editors who want templates, presets, and sound effects from a single source without managing multiple subscriptions.
The Freevisuals Whoosh Transition SFX Pack is free for personal and commercial use, including monetised YouTube content, paid client projects, social media content, brand video, and broadcast work. Redistributing or reselling the audio files themselves as a standalone product is not permitted, but using them within finished video content carries no restriction or attribution requirement. Once downloaded, the files can be used across an unlimited number of projects with no per-use fees or ongoing licence obligations.
Yes, all 5 files are cleared for personal and commercial use including monetised YouTube content, client work, social media, and broadcast. No attribution is required.
High quality MP3, compatible with all major video editing and audio software including Premiere Pro, DaVinci Resolve, Final Cut Pro, After Effects, CapCut, Filmora, GarageBand, Logic Pro, and Audacity.
Yes, once downloaded you can use all 5 files across as many projects as you like with no per-use restrictions or ongoing licence obligations.
No attribution is required.
Place the audio clip so that the loudest point of the sweep, usually the centre of the sound rather than the very start, lands on the exact frame where the visual cut happens. Let the onset of the sound arrive two to three frames before the cut point so the audio feels like it is driving the transition rather than following it.
Standard is the all purpose starting point. Soft is the lightest and most subtle, best for dialogue heavy content. Heavy has the most bass and the longest duration, best for dramatic impactful moments. Snappy is the shortest and most percussive, best for fast paced edits and Reels. Digital adds a glitch and electronic texture on top of the base sweep, best for gaming, tech, and streaming content.
Yes, you are free to adjust volume, apply EQ, add reverb, pitch shift, or otherwise process the files to suit your project. The only restriction is on redistributing the unmodified original files as a standalone product.
No, all 5 files are cleared for use on YouTube, Instagram, TikTok, and other platforms without triggering Content ID claims or copyright issues.
For a broader SFX library, Artlist and Epidemic Sound both carry extensive transition and SFX collections alongside their music libraries, with licences that cover commercial use across all major platforms.
The MP3 files work in Premiere Pro, DaVinci Resolve, Final Cut Pro, After Effects, CapCut, Filmora, GarageBand, Logic Pro, Audacity, and any other software that supports standard MP3 audio import.
Browse more free assets from Freevisuals: Creator Vault | Free Teal and Orange LUTs | Free Sound Effects | Free Music | Vibrant Pulse Music Track | Free Premiere Pro Intro Template
Download free video templates, LUTs, and presets for Premiere Pro, After Effects, DaVinci Resolve, CapCut, and Final Cut Pro.