.avif)
Freevisuals
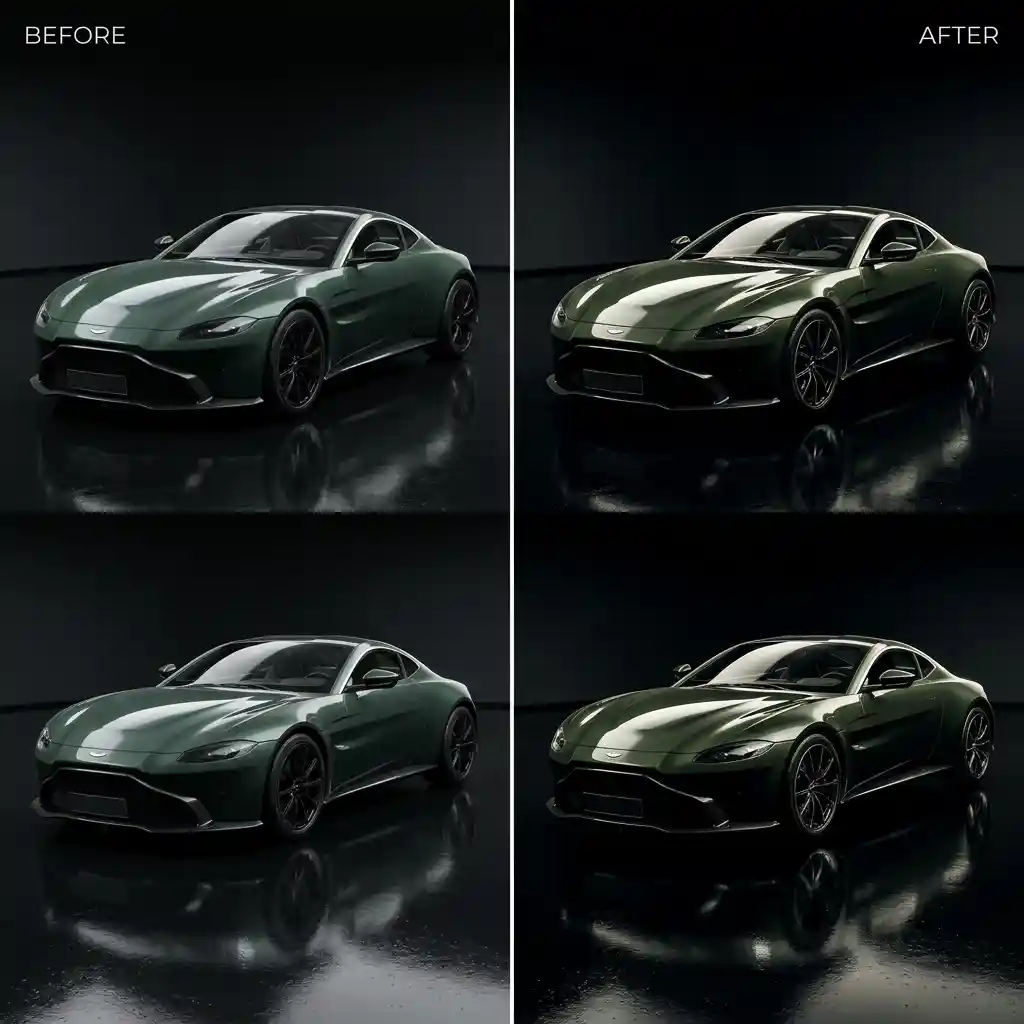
Free high-contrast commercial car .cube LUT for Premiere Pro, DaVinci Resolve, Final Cut Pro and CapCut.
Download FREEDownload a free High-Contrast Commercial Car .cube LUT built to make vehicle paint finishes, reflections, and metallic surfaces pop for automotive videographers and commercial DP shooters, and apply it in Premiere Pro, DaVinci Resolve, Final Cut Pro or CapCut as an adjustment layer or node on top of standard Rec.709 footage.
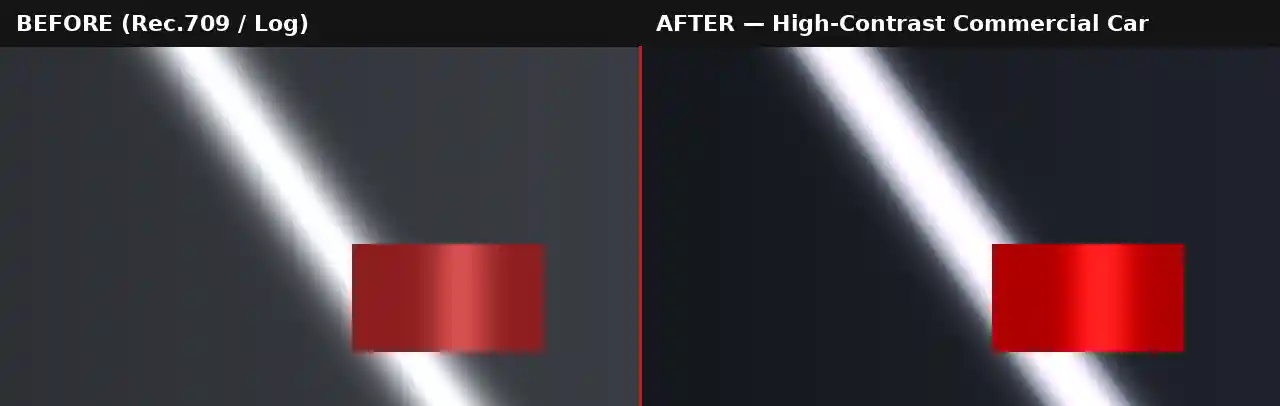
Automotive and commercial vehicle content lives or dies on how convincingly it sells surface quality, glossy paint, polished chrome, tight reflections along body panels. A flat, low-contrast grade makes even an expensive, freshly detailed vehicle look dull and uninteresting on camera, while a genuinely high-contrast, punchy grade is what gives paint its depth and makes reflections read as sharp and deliberate rather than washed out. This LUT is built specifically around that commercial priority rather than a narrative or emotional color goal.
Deep, glossy blacks are doing a lot of the visual work here. Automotive paint, particularly darker colors, relies on genuinely deep black point to look premium on camera, since anything less than true black reads as gray, dusty, or poorly maintained regardless of how clean the actual vehicle is. This LUT pushes the black point down aggressively while still preserving enough shadow detail to see body lines and panel gaps, rather than crushing everything into an undifferentiated black mass.
The silver midtone clarity and sharp highlight separation serve a similarly commercial purpose. Metallic and pearlescent paint finishes contain fine sparkle and depth that a flat grade tends to compress into a single flat tone, while boosted midtone contrast and clearly separated highlights let that sparkle and depth actually read on screen, which is precisely what makes a paint finish look genuinely metallic rather than simply glossy plastic. It is also worth considering how this grade interacts with different paint colors specifically. Darker paint colors, black, navy, deep red, tend to show the most dramatic transformation under this LUT, since they have the most room for deeper black point and sharper highlight contrast to develop. Lighter paint colors, white, silver, pale colors, will show a more subtle shift, since they already sit closer to the highlight end of the tonal range before any grading is applied, and there is simply less room for the contrast push to visibly deepen shadows that were not especially dark to begin with.
This .CUBE file works natively across Adobe Premiere Pro (Lumetri Color), DaVinci Resolve, Final Cut Pro (FCPX), and CapCut Desktop.
A practical tip specific to this look: because contrast is pushed aggressively, footage shot in flat, overcast lighting with limited natural specular highlights on the vehicle will show a less dramatic transformation than footage shot with strong directional light or under studio lighting with visible reflections already present, since this LUT enhances existing highlight separation rather than manufacturing highlights that were not there to begin with.
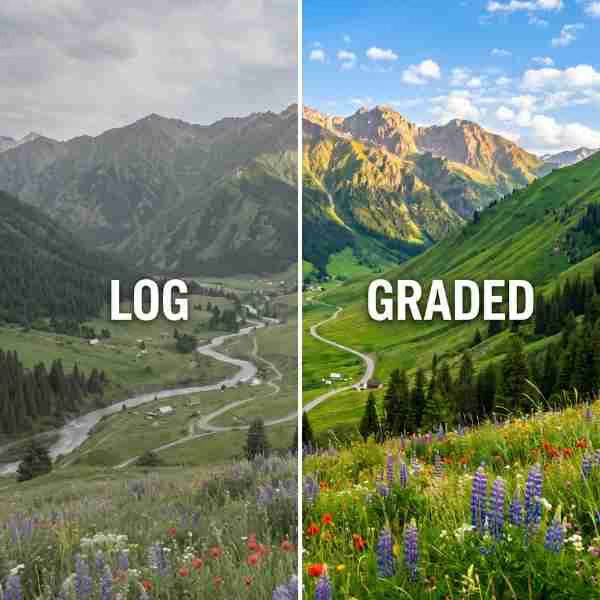
This LUT is built as a creative grade for standard Rec.709 footage, not as a technical conversion tool. If shooting on a camera set to a log profile such as Sony S-Log2/3, Canon Log, or Blackmagic Gen 5, the footage needs a technical LUT applied first to bring it into a normal Rec.709 viewing space before this high-contrast grade goes on top. Applying it directly to unconverted log footage tends to produce unpredictable results, sometimes too dark, sometimes strangely flat, since the LUT's aggressive contrast curve is calibrated against a properly exposed Rec.709 starting point rather than a much flatter log image.
Most camera manufacturers provide free technical conversion LUTs for their specific log profiles on their support websites. Once that conversion is applied as a first step, either on its own node or adjustment layer beneath this one, the High-Contrast Commercial Car LUT will behave exactly as expected on footage originally shot in a log format.
Consider an automotive videographer filming a vehicle showcase across both a controlled studio environment and an outdoor dealership lot. Studio footage, typically lit with dedicated reflectors and softboxes specifically to create clean specular highlights along the body panels, generally takes this LUT extremely well at close to full strength, since the lighting was already designed with exactly this kind of grade in mind. Outdoor lot footage with flatter, less controlled lighting may need the LUT paired with a manual contrast boost before grading, since the LUT alone works best amplifying highlights and reflections that already exist rather than creating them from a genuinely flat source. Reviewing a test render on the Waveform Monitor before committing to a full shoot day is worth the extra few minutes, particularly when working across multiple paint colors and lighting setups within the same shoot, since a setting that looks perfect on a dark vehicle may need adjustment before being applied to a lighter one. Keeping a brief record of the settings used for each vehicle also saves time on future shoots, since a returning client's dark sedan and a new client's white coupe will likely need slightly different starting points despite using the same base LUT. This small habit pays for itself quickly once a dealership or agency relationship extends across multiple vehicles and shoots over time.
The most frequent issue is applying this LUT to footage with already-clipped highlights, bright reflections that were already blown out in camera, which this LUT's contrast push can make look even more harshly overexposed rather than crisp and clean. A second common mistake is applying this look uniformly across a shot that includes both the vehicle and a person, an interior shot with a driver, for example, since the aggressive contrast that flatters glossy paint and metal can look unflattering and harsh on skin tones. Masking the LUT to the vehicle specifically, rather than the full frame, solves this in mixed shots.
For automotive and commercial content, driving, energetic instrumental tracks from Epidemic Sound suit this punchy grading style well. Envato carries automotive and commercial-focused title templates and lower thirds that pair naturally with this high-contrast look, and Motion Array carries similar commercial vehicle template packs worth reviewing.
Watch on YouTube: Color Grading Car Commercial in DaVinci Resolve
A sharp, energetic transition pack matches the fast-paced editing rhythm typical of automotive commercial content far better than a soft crossfade. A bold, modern title template with clean geometric lines suits this punchy grading style better than anything with a softer, more organic aesthetic.
For automotive brands and dealerships producing an ongoing series of vehicle showcase videos, applying this LUT consistently across every video in the series helps establish a recognizable visual identity that viewers begin to associate specifically with that brand or dealership. Consistency across a growing library of vehicle content is often what separates a channel that reads as a professional, ongoing commercial operation from one where each video feels like an isolated, one-off production with no clear visual through-line connecting them.
This LUT is free for personal and commercial use. No attribution is required. It should not be resold or redistributed as a standalone stock asset, and it should not be uploaded to a competing stock photography or LUT marketplace. Full terms are covered in the Terms of Service.
Will this LUT work on interior car footage with people in frame?
It can, but the aggressive contrast that flatters paint and metal tends to look harsh on skin tones. Masking the LUT to the vehicle itself rather than the full frame gives better results in mixed shots.
Does this LUT work on footage shot in flat, overcast lighting?
It will still apply, but the transformation will be less dramatic than on footage with existing specular highlights and reflections, since this LUT amplifies highlight separation rather than creating it from nothing.
Is this LUT free for commercial automotive projects?
Yes, this LUT is free for both personal and commercial use with no attribution required.
Which software works with this LUT?
It is a standard .CUBE file, so it works identically across Premiere Pro, DaVinci Resolve, Final Cut Pro and CapCut Desktop.
Download free video templates, LUTs, and presets for Premiere Pro, After Effects, DaVinci Resolve, CapCut, and Final Cut Pro.