.avif)
Freevisuals

Download 10 free cinematic LUTs for DaVinci Resolve & Premiere Pro. Transform your videos with Hollywood-style color grading instantly
Download FREEGo Pro To DownloadDownload NOW!Looking for a fast way to give your footage a Hollywood inspired, professional look without the cost of a colorist or a paid grading suite? This pack gives you 10 pre-made color grading presets built to mimic iconic film styles, blockbuster teal and orange, moody desaturation, and vintage warmth, ready to apply to your footage in seconds rather than hours.
Color grading is one of those skills that separates footage that looks like a home video from footage that looks like it belongs on a streaming platform, and it's also one of the most time consuming parts of post production if you're building every look manually from scratch. This pack shortcuts that process entirely. Available in .cube format, it works across DaVinci Resolve, Premiere Pro, Final Cut Pro, and Photoshop, so the same 10 looks travel with you regardless of which software a specific project needs.
If you want a more targeted look built for a specific platform trend rather than a general cinematic pack, check our full LUT library for more options, including looks built specifically for current social media trends. For music to pair with cinematic footage, Artlist and Epidemic Sound both carry orchestral and cinematic tracks that suit this kind of grade well.
While the exact 10 looks are best explored directly once you've downloaded the pack, the range generally spans a few recognizable categories worth understanding before you start applying them.
Blockbuster teal and orange. The most recognizable modern cinematic look, pushing skin tones toward warm orange while shifting backgrounds and shadows toward teal and cyan. This is the grade most associated with big budget action and adventure films.
Moody desaturation. A pulled back, muted color response with deeper shadows, suited to dramatic, tense, or somber scenes where full color vibrancy would undercut the mood.
Vintage warmth. A warmer, slightly faded look reminiscent of older film stock, good for nostalgic or period appropriate content.
Cool sci-fi tones. A colder, blue-leaning grade suited to tech, futuristic, or night time urban content.
Classic sepia and monochrome variants. Stripped back, tonal looks for archival, documentary, or stylized black and white style sequences.
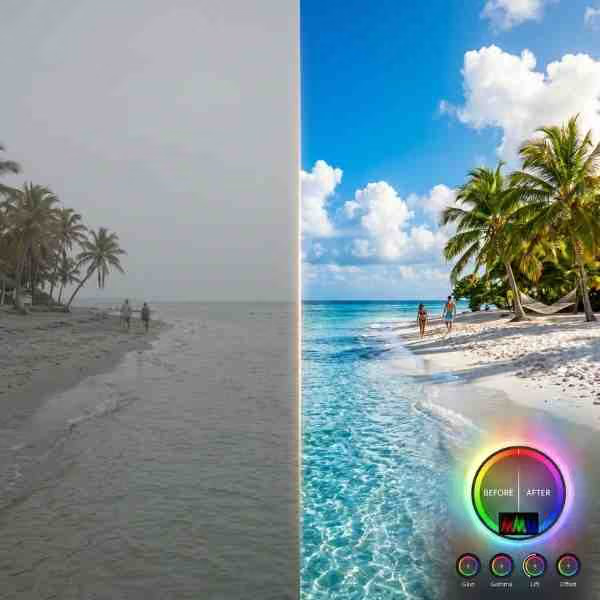
Apply a single LUT to achieve a polished cinematic vibe, well suited to short films, music videos, or vlogs that want a finished look fast. This is the core use case for the entire pack, going from flat, ungraded footage to something that reads as intentional and professional within a single click.
Skip hours of manual color correction, this pack delivers a professional result in seconds rather than requiring node-by-node grading from scratch. For editors working on tight deadlines or high volume content schedules, having a reliable starting point LUT removes one of the most time intensive parts of the post production process.
Use the same LUTs in a DaVinci Resolve project, a Premiere Pro timeline, or even Photoshop for still photography. This matters more than it might initially seem, since editors who move between software depending on the client or project don't need to source and learn a completely different set of LUTs for each platform.
Wedding videographers in particular benefit from a fast, reliable grading workflow, since wedding turnaround times are often tight and couples expect a polished, cinematic result. A warm or vintage leaning LUT from this pack can quickly establish the romantic, timeless feel wedding clients typically want.
Travel montages and drone footage benefit from a strong, consistent grade applied across many different shots taken in varying light conditions. Using the same LUT across a whole travel edit helps visually unify footage shot at different times of day and in different locations.
No advanced color grading skills are needed to use this pack, making it a solid starting point for new editors who want a strong cinematic look without a steep learning curve. Many professional colorists actually started by studying and adjusting pre-built LUTs before learning to build grades from scratch.
Download the zipped folder containing all 10 .cube files from the link above.
Unzip the folder to a location you'll remember, ideally a dedicated LUTs folder you can reuse across future projects.
In DaVinci Resolve, go to File > Preferences > System > General, then click Open LUT Folder. Copy all 10 .cube files into this folder.
Resolve needs to be restarted, or you'll need to right-click in the LUT browser and choose Update Lists, before newly added LUTs appear.
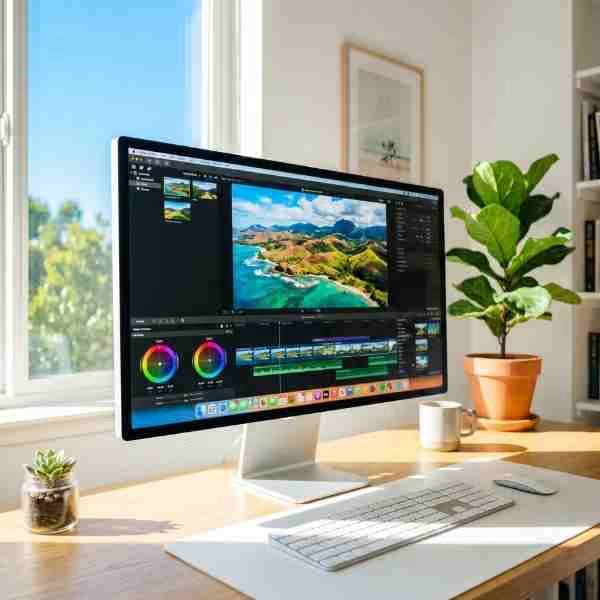
On the Color page, right-click a clip's node, choose LUT, and navigate to your custom LUT folder to select one of the 10 looks.
If you're working in Premiere Pro, add the Lumetri Color effect to your clip, open the Lumetri panel, go to the Creative tab, click Browse under Look, and select your chosen .cube file directly, no folder installation required.
Place the .cube files in your custom LUT folder, then apply your chosen look through the Color inspector's Custom LUT option.
Open the Color Lookup adjustment layer, select 3D LUT File, and browse to your chosen .cube file to apply the same cinematic look to still images, useful if you're producing matching thumbnails or promotional stills alongside your video content.
Since lighting conditions vary between shots, apply your chosen LUT across a few different clips from your project before finalizing your choice, a look that works beautifully on one shot may need adjustment on footage captured in different light.
LUTs are a starting point, not always a finished result. If skin tones look slightly off or a specific shot needs more adjustment, use your software's standard color wheels or curves on top of the LUT to fine-tune the final look.
With 10 different LUTs included, it helps to have a system for choosing rather than trying each one at random. Start by identifying the emotional tone of your project, is it energetic and adventurous, moody and dramatic, warm and nostalgic, or cold and technical? That emotional starting point should narrow your choice down to two or three candidates before you even open your editing software.
From there, apply your shortlist to a representative, well-lit clip from your actual footage rather than judging a LUT from a generic preview thumbnail. The way a LUT interacts with your specific lighting, skin tones, and color palette can differ meaningfully from how it looks on a stock preview image.
A single LUT locks you into one aesthetic decision before you've even started editing. A 10 pack gives you room to match the grade to the actual content rather than forcing every project through the same visual filter. A wedding video and a gritty documentary have completely different emotional needs, and having both a warm, romantic option and a desaturated, dramatic option in the same download means you're not stuck reaching for a single tool that only half fits the job.
This also matters for editors who work across multiple genres or client types. A freelance editor handling a corporate video one week and a music video the next benefits enormously from having a range of starting points already downloaded and organized, rather than searching for a new LUT every time a new project's tone shifts.
For projects longer than a single short clip, a documentary, a wedding film, a multi-part travel series, consistency matters more than any single dramatic grading choice. Once you've selected a LUT from this pack that fits your project, resist the temptation to switch to a different look partway through simply because a later scene has different lighting. Instead, apply the same base LUT throughout, then use secondary correction tools (exposure, white balance, contrast) on individual clips to compensate for lighting differences while keeping the overall color language consistent from start to finish.
This approach, one consistent LUT as your foundation with scene-specific correction layered on top, is close to how professional colorists actually work on longer projects. It gives you the speed benefit of a pre-built LUT while still allowing enough flexibility to handle footage shot across different times of day, locations, or camera settings without the final video feeling visually disjointed from scene to scene.
Applying a LUT to poorly exposed footage and expecting it to fix the problem. LUTs are color transforms, not exposure correction tools. Footage that's significantly under or overexposed should be corrected first, then graded with a LUT afterward.
Mixing multiple different LUTs across a single project without a plan. Using several different LUTs from this pack across one video can create a visually inconsistent final result, unless you're deliberately using different looks for different scenes with a clear creative reason.
Skipping a compression test before finalizing. Some LUTs, particularly ones with strong contrast or saturation, can look different once compressed by a delivery platform like YouTube or Instagram. Test an export before considering your grade final.
Ignoring skin tones in favor of overall mood. A LUT that creates a beautiful overall mood but makes skin tones look unnatural or unhealthy needs adjustment, skin tone accuracy should rarely be fully sacrificed for style.
Not saving a backup of your original ungraded footage. Always keep your original, ungraded footage available separately, in case you want to try a different LUT or adjust your approach later in the edit.
DaVinci Resolve Tutorial: Zoom In And Out (Ken Burns Effect), useful background on working with still images and photo based content if you're applying this pack to a mixed photo and video project.
Any software that supports standard .cube LUT files, including DaVinci Resolve, Premiere Pro, Final Cut Pro, and Photoshop.
No, each LUT is a standalone look. Choose whichever single LUT fits your specific project's tone, most editors use just one per project.
Yes, most editing software lets you reduce a LUT's opacity or blend it with your original footage if the full effect feels too strong.
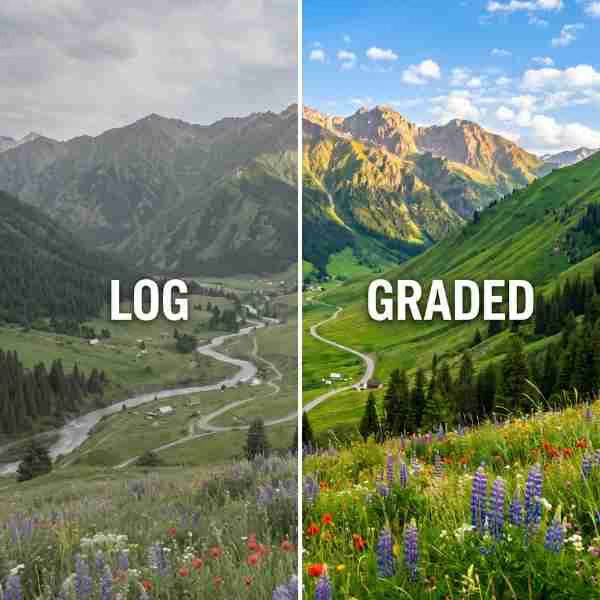
Generally yes, though LUTs built for standard rec709 footage may need adjustment when applied to log footage, since log footage has a much flatter starting contrast and saturation profile.
Yes, free for both personal and commercial projects.
Yes, LUTs are commonly used as a starting point, with additional manual correction layered on top for the final result.
Affiliate Disclosure: This post may contain affiliate links. If you make a purchase through one of these links, FreeVisuals may earn a commission at no extra cost to you. We only recommend products and platforms we genuinely believe in. Read our full disclosure policy.
Download free video templates, LUTs, and presets for Premiere Pro, After Effects, DaVinci Resolve, CapCut, and Final Cut Pro.